Your car, showroom clean, in your own driveway.
Professional mobile detailing across Fort Bend County. I bring everything to you, you pay when the job is done and you love it.
★★★★★ 5.0 on Google · 17 reviewsBuild your price in 10 seconds
1 · Your vehicle
2 · Your service
Your estimate
Interior Detail on a sedan
Request This ServiceI confirm every request within 24 hours. Final price is confirmed together at the walkthrough before any work starts, no surprises. Heavy stains or pet hair can add a little, and I always talk to you first.
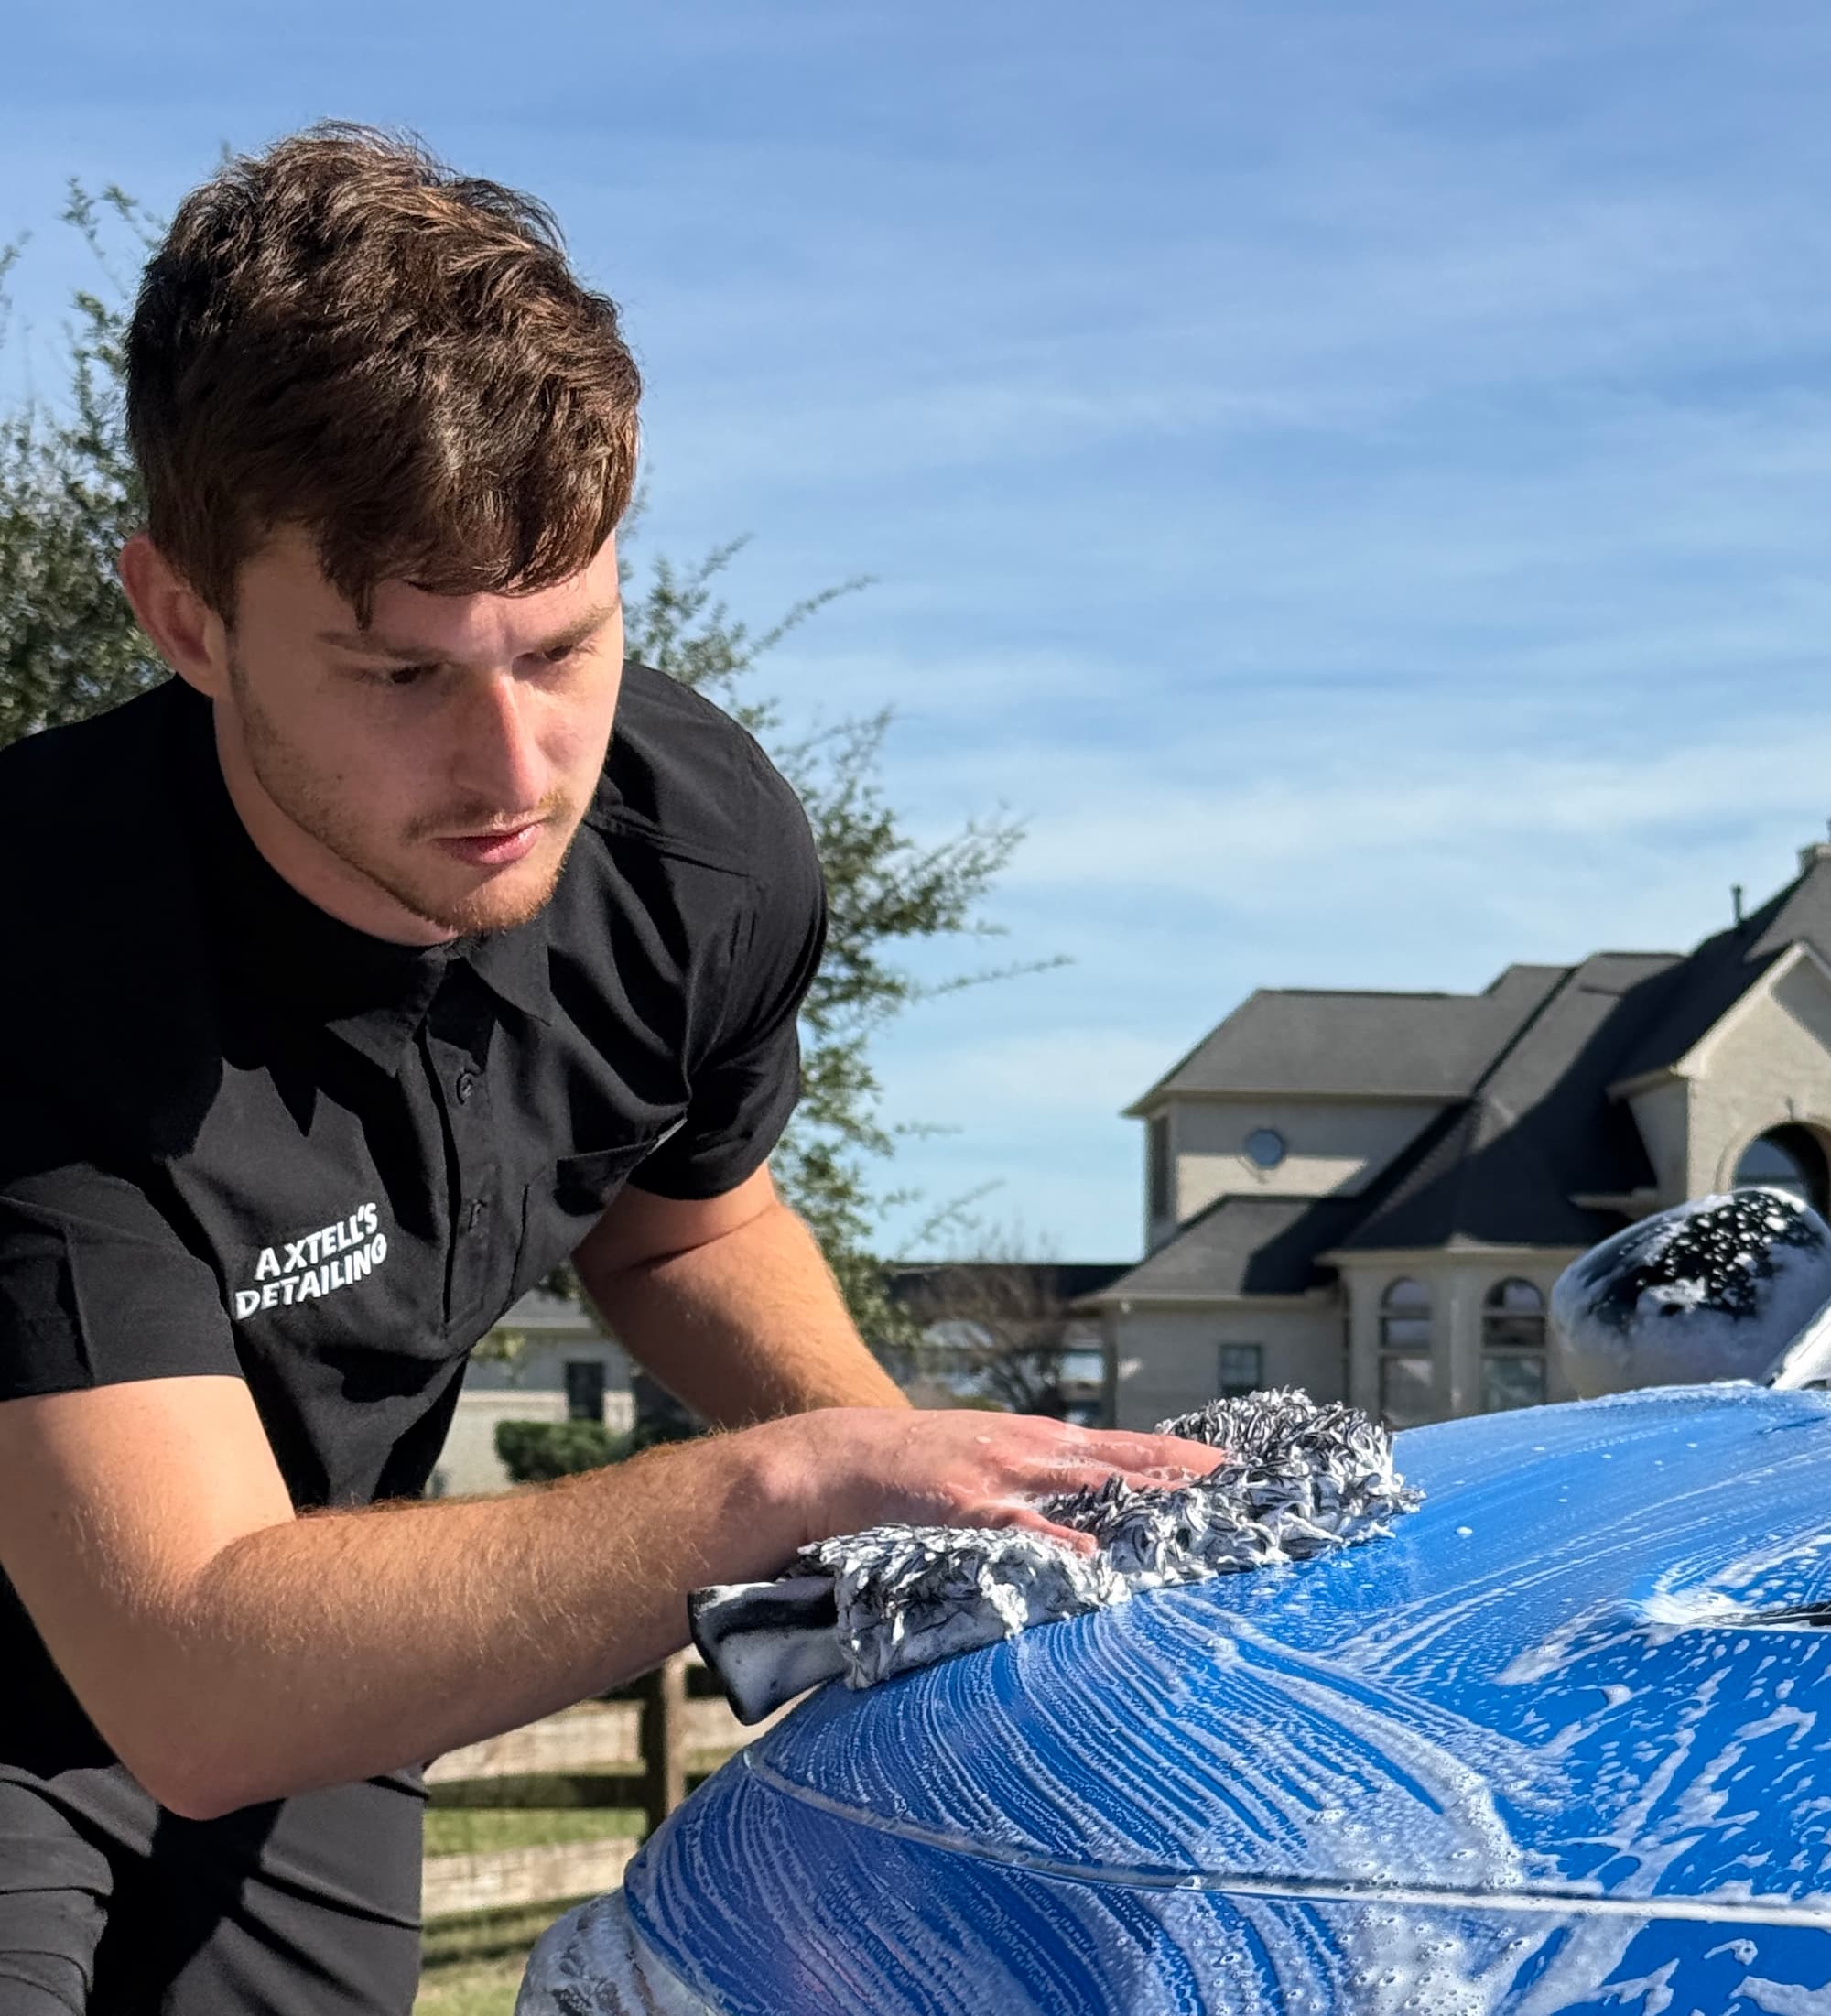
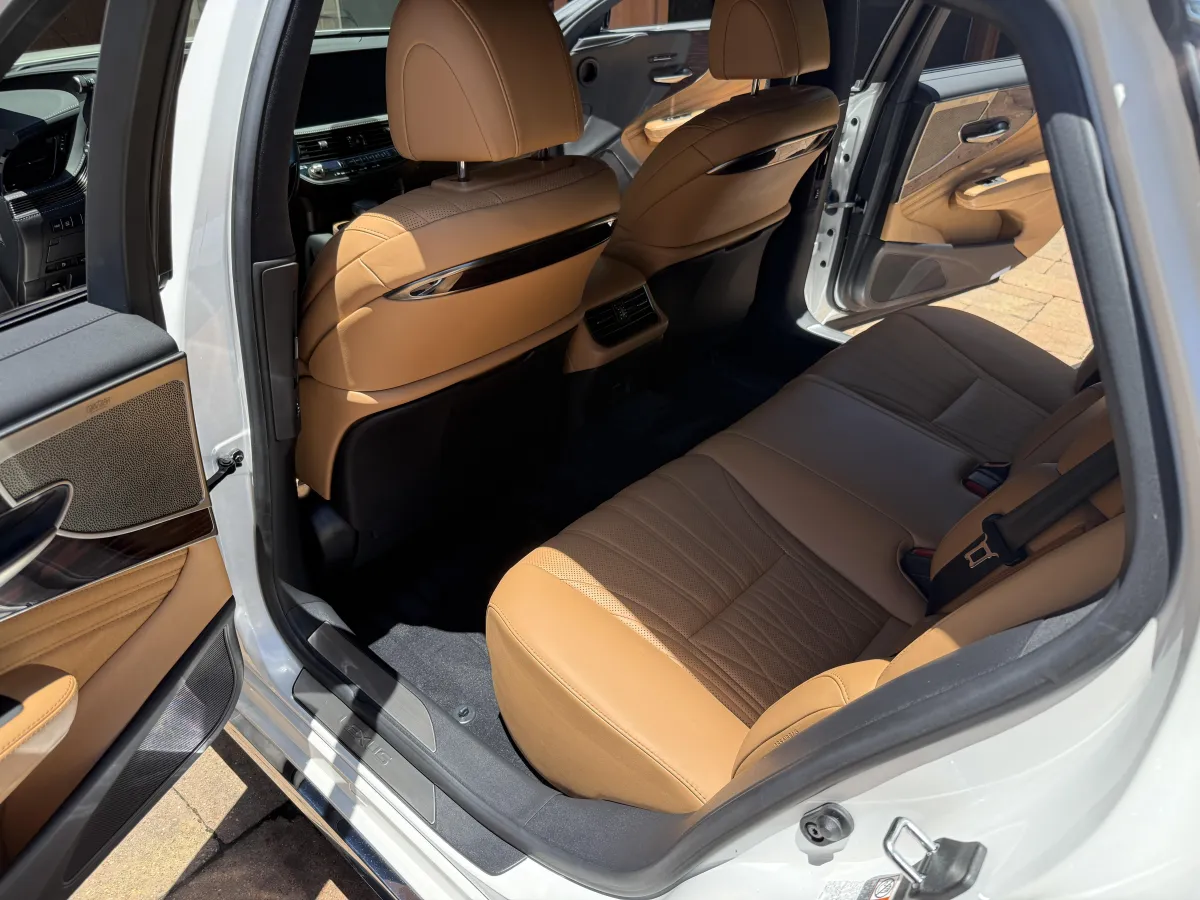
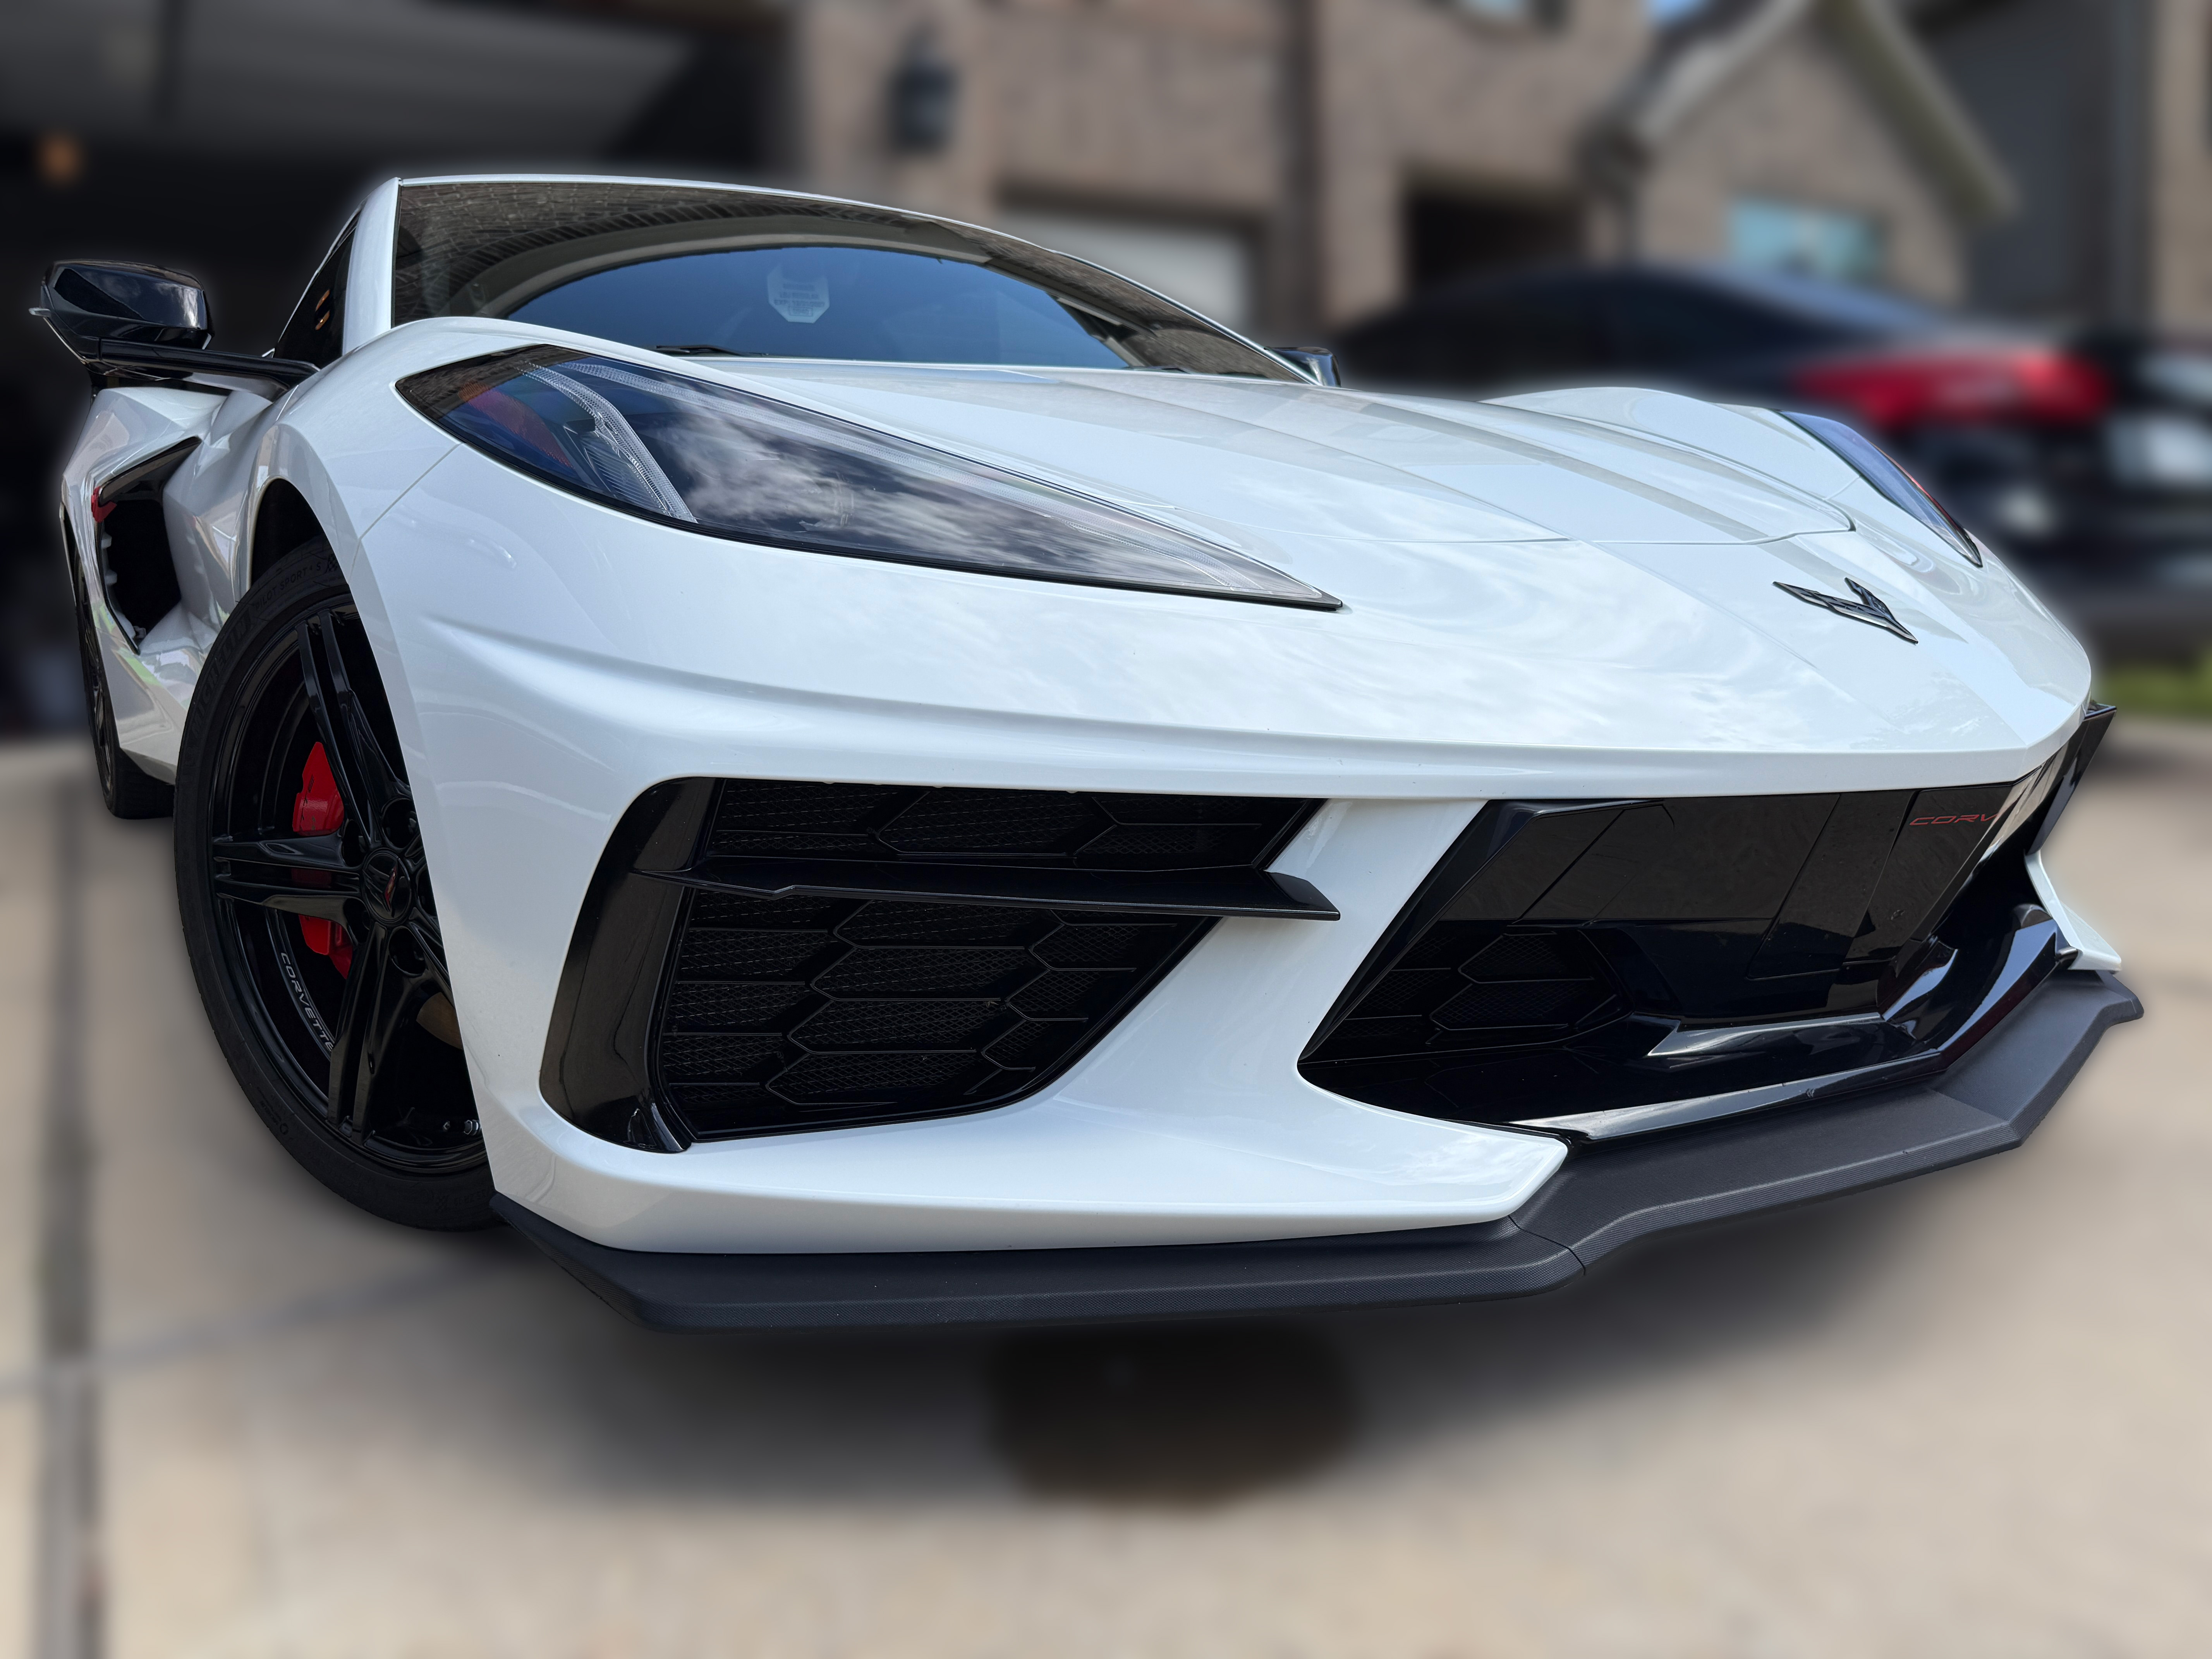
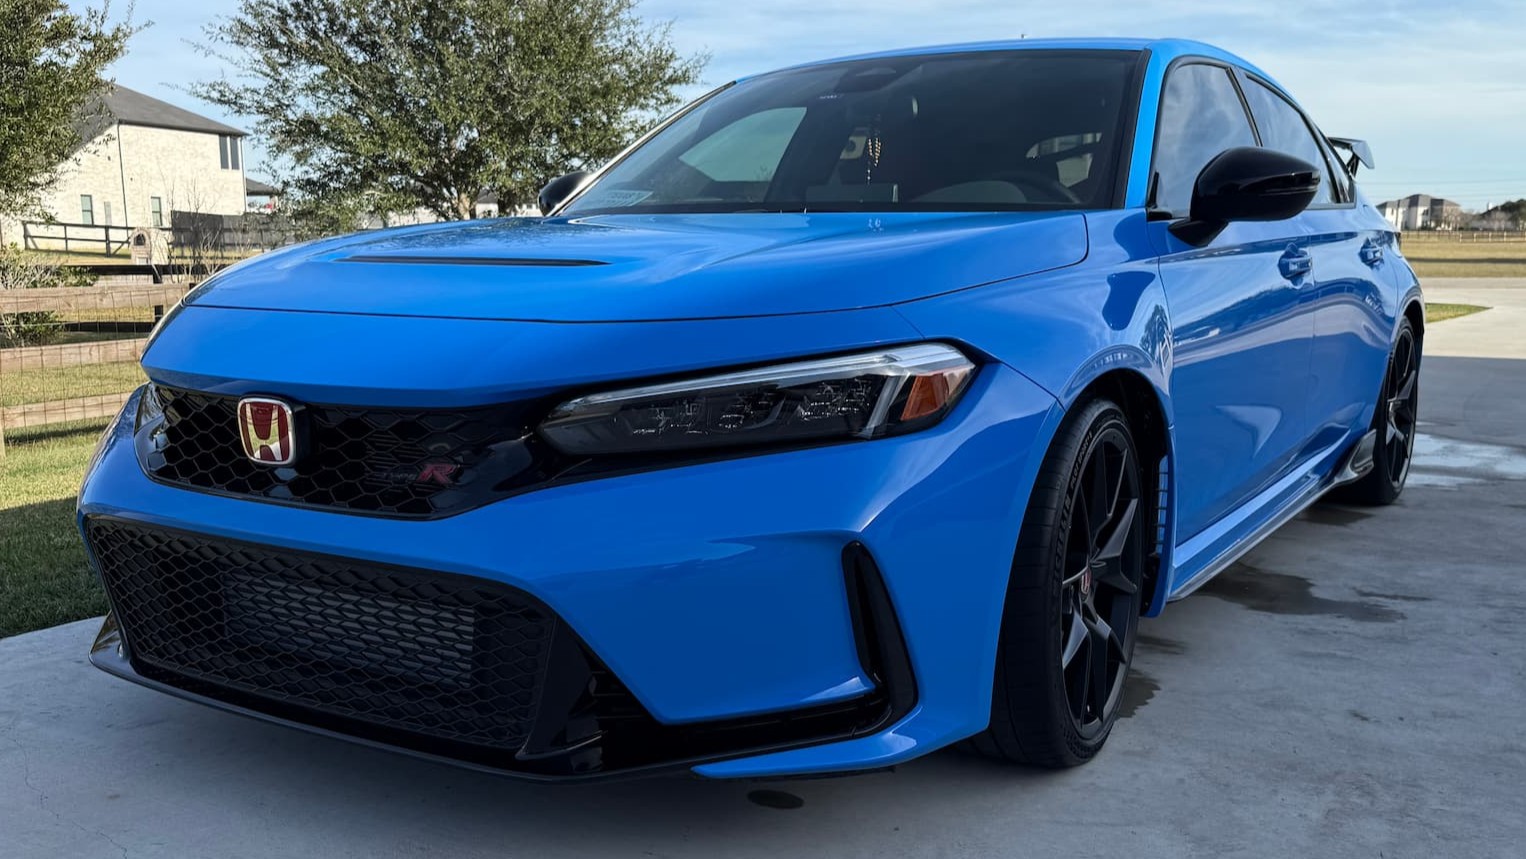
Work that speaks for itself
Answer four questions
Most people booking their first detail have no idea which service to pick. Tell me about the car and I'll point you at the right one, even when that is the cheaper option.
1 · What are you driving?
2 · What bothers you most?
3 · When was it last detailed?
4 · What lives in this car?
What I'd recommend
A deep clean of the whole cabin, top to bottom.
Request This Service Or see everything I offerThis is a recommendation, not a quote. Final price is confirmed together at the walkthrough before any work starts, no surprises.
Walk through a real detail
This is the actual order I work in, not a generic list. Step through it and see what your money buys.
We walk the vehicle together before anything starts. I look at the real condition, note any pre-existing damage, and confirm the price. If something like heavy pet hair would change the number, you hear it now, not at the end.
Every job gets documented. Before shots at the walkthrough, after shots at handoff. You get to see the difference instead of taking my word for it.
All the trash comes out and your personal items get set aside somewhere safe. Floor mats come out of the vehicle entirely and get cleaned separately. Rubber mats are scrubbed and rinsed, cloth mats get blown out and vacuumed.
A pass for the big stuff before any deep work. This clears the loose debris so the detailed pass can actually reach the fibers instead of pushing crumbs around.
Compressed air blasts dirt out of the places a vacuum nozzle cannot reach: seat rails, the cracks between cushions, under the seats, along the trim seams. I vacuum as I go, working from the rear seats forward.
If there are stains worth chasing, this is where they get treated: light mist, cleaning solution, agitation with a soft brush, then extraction in overlapping straight passes. The fabric comes out damp, not soaked, and I tell you the drying time up front.
Dash, console, door panels, steering wheel, cup holders, leather, and plastic trim all get cleaned by hand and treated with a UV protectant. That last part is what keeps a Texas dashboard from fading and cracking.
Vents get a light amount of product pushed through the slats with air, never soaked. Pedals get brushed and wiped dry, then checked so they are not slippery. Door jambs, hinges, latches, and rubber seals get cleaned too, since that is the part you touch every single time you get in.
Interior glass and screens done streak free and checked from several angles. Mats back in, seats and belts reset, your belongings placed neatly on the front passenger seat. After photos, then we walk the finished car together. You pay once you have seen it.
We look at the paint together first. Existing scratches, chips, and dents get documented before I touch anything, and the price gets confirmed while we are standing there.
Documented the same way as every other service, so the after shots mean something.
Wheels are the dirtiest part of the vehicle, so they go first. Rinse, degreaser, then scrubbing the sidewalls, the faces, and the inner barrels most places skip entirely. Rinse again. No tire shine yet, that comes much later.
The parts you see every time you open the door, and that almost nobody cleans. Washed with a mitt and rinsed from the inside outward so water does not run into the vehicle.
The entire car gets covered in foam and left alone for two to three minutes with nothing touching it. That dwell time softens and lifts the dirt so it rinses away instead of getting dragged across your clear coat.
Hand wash with a clean microfiber mitt, rinsed constantly. Roof first, then glass, then upper panels, then the middle, then the lower panels dead last. Heavy lubrication, never heavy pressure.
Paint picks up embedded contamination from Texas roads that soap will not touch. A clay towel pulls it out, worked in small sections with plenty of lubrication. Run your hand over the paint after and it goes from slightly gritty to glass smooth.
Either the spray wax included with the service, misted onto the still-wet vehicle and dried in, or the upgraded 1-year ceramic wax, which needs the car completely dry first and gets applied and buffed one panel at a time.
Tire shine and trim restore go on only after the vehicle is fully dry, so nothing slings or runs down your paint. Exterior glass gets checked from multiple angles for streaks, equipment gets cleared, wheels get straightened, and we walk it together.
We inspect the paint together and I show you what is actually there: swirls, scratches, oxidation. We agree on the correction level and the full price before anything starts. I explain what I can safely do and what I cannot, and you approve the plan.
All four sides, plus close-ups of the specific defects we discussed. That is how you judge the correction honestly afterward instead of guessing.
Foam pre-soak, wheels and tires, door jambs, then a full contact wash top to bottom. This is the exterior detail process, done as prep.
Every painted surface and the glass get clayed, then the vehicle is dried completely with no water left anywhere.
Indoors or in shade, never in direct sunlight, under a light built for finding paint defects. This is where we confirm exactly which defects are getting addressed.
Polishing one panel at a time in overlapping straight passes, inspecting under the light after each one, stopping when the defects are sufficiently reduced. A One-Step is included. A Two-Step removes more, and more clear coat with it, so it only happens with your approval and only if the paint can safely give it.
Every painted panel, the glass, and the trim get wiped down to strip away all polish oils, residue, and fingerprints. Fresh microfiber every panel or two, and no bare-hand contact after this point.
Shade or garage, no direct sun on the panels, temperature and humidity inside the coating's range. Then Gtechniq goes on one panel at a time in a crosshatch pattern, and gets leveled the moment it flashes.
Every panel checked again for high spots, streaks, and unleveled areas, including the edges and body lines where coating likes to pile up. High spots get corrected with a light buff, never with more product.
After photos, a walkthrough of the finished car, and written care instructions. Then three rules for the first week: keep it covered 24 hours, no washing for 7 days, and never run it through an automatic wash again.
Wax, ceramic wax, ceramic coating
These three get mixed up constantly, and some shops are happy to let that happen. Flip between them and see the real difference.
Included with every Exterior and Full Detail at no extra cost. It gets misted onto the vehicle while it is still wet and dried in, which leaves gloss and a slick surface that helps water bead off. Think of it as the finishing touch on a wash rather than long term armor.
- Gloss and water beading Yes
- UV and sun fade No
- Chemical etching No
- Rock chips No
- Paint correction included No
A genuine upgrade, and a different product entirely. The vehicle has to be completely dry first, then it goes on one panel at a time and gets buffed off by hand. It bonds to the paint and holds gloss and beading for up to a year, which means it is still working next summer.
- Gloss and water beading Yes
- UV and sun fade Yes
- Chemical etching No
- Rock chips No
- Paint correction included No
A different category of service and a full day of work. Full decontamination, machine polishing to cut down the swirls that are already there, a panel wipe to strip every trace of polish oil, then a professional Gtechniq coating applied panel by panel. It needs 12 to 24 hours to cure afterward.
- Gloss and water beading Yes
- UV and sun fade Yes
- Chemical etching Yes
- Rock chips No
- Paint correction included Yes
Nothing in this chart stops a rock chip or a door ding, and any shop that tells you otherwise is selling you something. A coating is a sacrificial layer between the environment and your paint, not body armor. Whichever one fits your car, the final price is confirmed together at the walkthrough before any work starts.
17 reviews. All five stars.
"Really glad we came across Austin. He exceeded our expectations and is very professional. We would highly recommend him!"
DannyGoogle review"Extremely prepared with every possible equipment and supplies for performance of a great detail inside and outside."
JoeGoogle review"Love love love my experience with Axtell Mobile Detailing. Highly recommend."
AmberGoogle review"They did a fantastic job! 10/10 recommend! So worth it, and will continue to use them in the future!"
AshleyGoogle review"I got the 5yr ceramic coating & my car has never looked better!! Would give more stars if I could!"
AlonaGoogle review"So convenient scheduling at my home - & the price was very reasonable!"
LauraGoogle reviewThree steps to a clean car
Build your price above and request a time, or just call or text me. Your request is in, and I personally confirm within 24 hours.
Home or office, anywhere in Fort Bend County. All I need is a water spigot, an outlet, and a spot to park. You don't even need to be home.
We walk the finished car together. You pay after the job is done, cash or card, and only when you're happy with it.
Ready to have your vehicle looking brand new again?
Summer is rough on Texas paint and interiors. Get on the schedule this week.
Build My Price